DMARC Setup on GoDaddy
Just like SPF and DKIM, DMARC is a simple one-line entry in your DNS records (e.g., Namecheap, Cloudflare, Bluehost, etc.).
Before setting it, make sure you’ve configured SPF and DKIM records for the required domain.
Then follow these steps:
Step 1: Sign In to your GoDaddy account
Sign In to your Godaddy account.
Step 2: Go to manage DNS page
In All Products and Services section, you should see the list of all of your domains.
Click on DNS button in front of your domain.

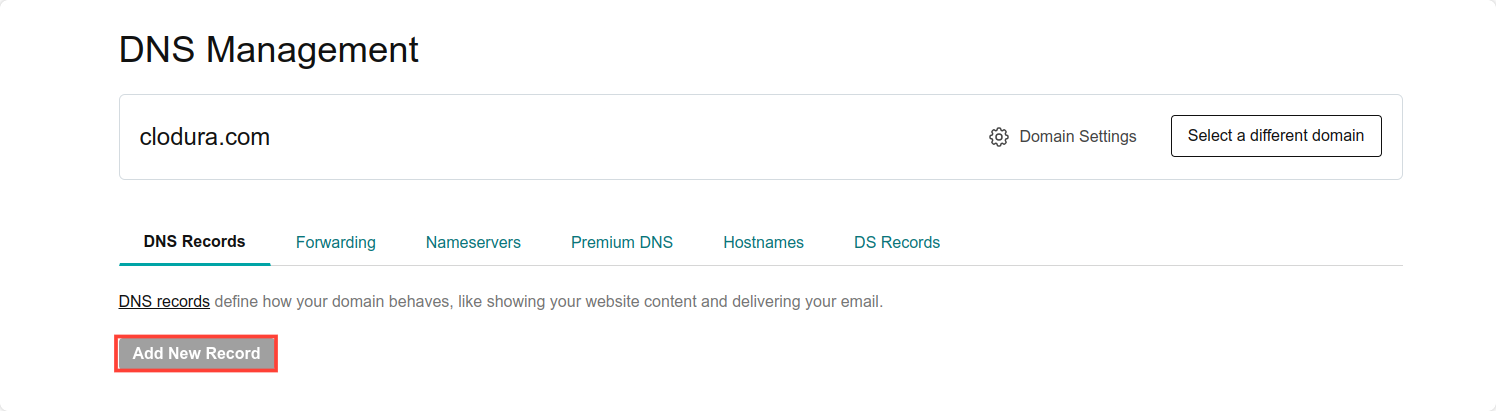
Step 3: Add a new record
In DNS Management click on Add New Record button
Step 4: Enter DMARC Record
- Choose a ‘TXT’ record.
- Add the hostname (for example, _dmarc).
- Add the value.
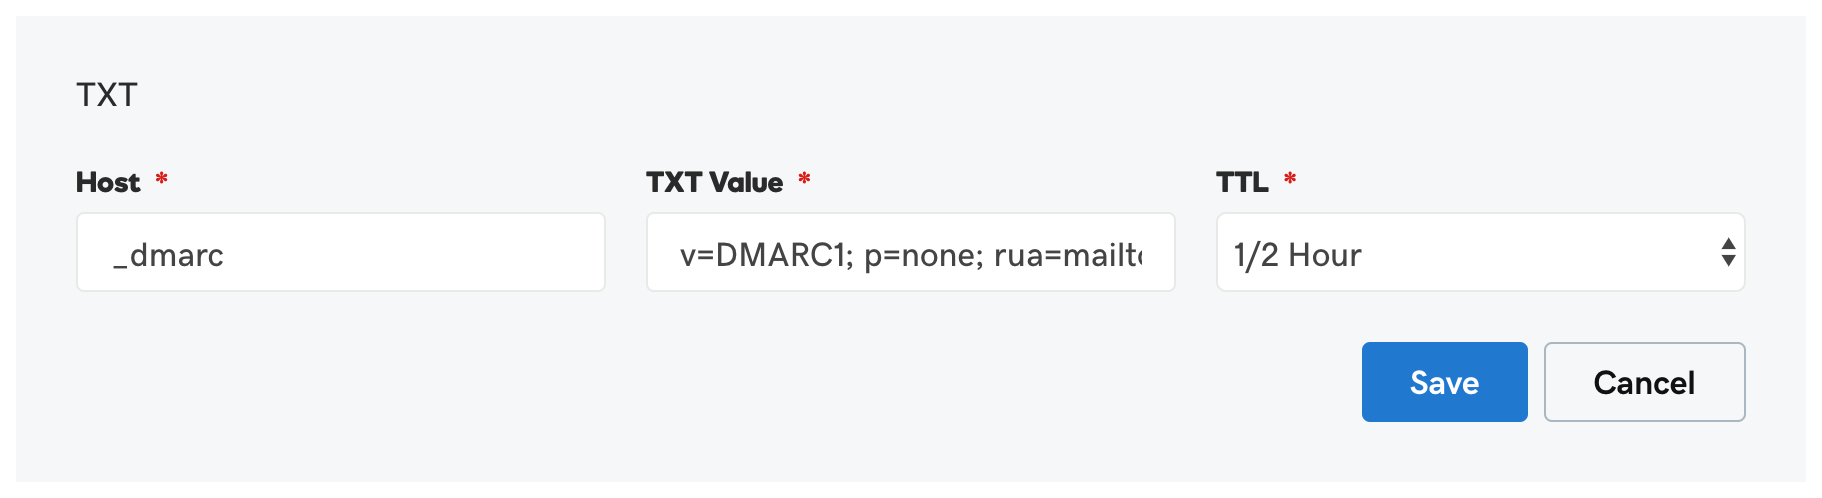
You can find a sample DMARC entry that you can use to create your own below:
v=DMARC1; p=quarantine; rua=mailto:example@domain.com; ruf=mailto:email@domain.com; fo=s
-
Where:
v- A mandatory tag-value (don’t change it!).p— Mail processing policy. One of the possible options is specified — none, quarantine, or reject.rua- Email address for receiving statistical reports. The address must belong to the same domain for which the DMARC record is configured.ruf- Email address for receiving reports on failed authentication checks. Since each error when verifying the sender’s address generates a separate report, it’s better to have a separate mailbox for this.fo- Determines in what cases reports will be sent to the domain owner. Possible values include:- 0 - a report is sent if SPF and DKIM checks fail. Set by default.
- 1 - a report is sent if one of the checks fails — either SPF or DKIM.
- d - a report is sent for each DKIM verification performed.
- s - a report is sent for every SPF check performed.
-
Select desirable TTL (default is 1 Hour)
-
Select Save to add your new record